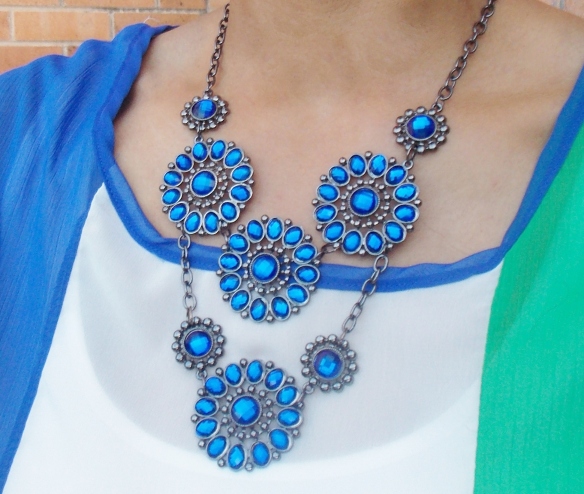
Isn’t it frustrating when you have the perfect project in mind but can’t find the needed supplies? It happens to me all the time. Hobby Lobby, where I get most of my craft supplies, offers a large selection of all sorts of crafting stuff but limited amounts of each. I may need a certain chain or rhinestone or charm but if I’m not ordering from online from somewhere unknown then better luck next time! Today I want to show you how you can turn cheap store bought accessories into the supplies you need. First, always shop the clearance section. You don’t want so spend a lot of money on an item you are going to cut or tare apart. Look for items that can be easily taken apart and that are not welded together. If you look at most your earrings or necklaces, the pieces are usually connected together by jumps rings. This is the second thing you want to check for. Look for items that have loops or openings that can fit a jump ring. In this DIY I will show you how to take a inexpensive pair of earrings and turn it into to a statement necklace. Check out the tutorial below!
Things you need:
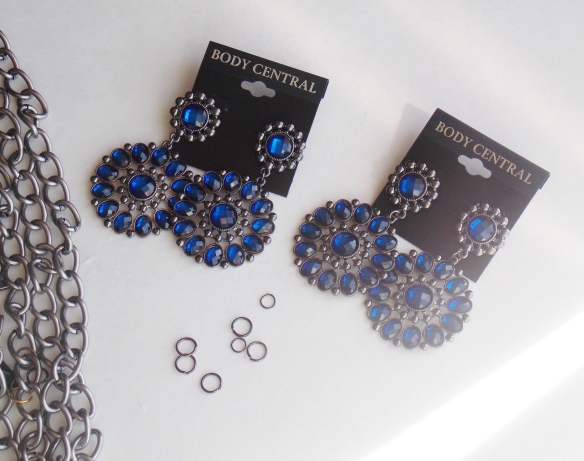
- 2 sets of cheap earrings
- Jump rings in all sizes
- Chain
- Pliers
- Plier cutters
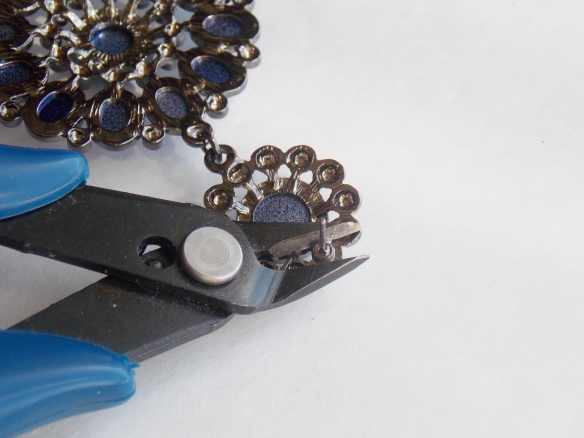
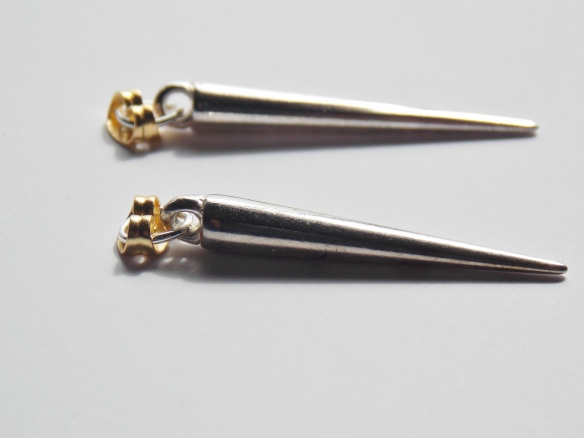
If you have earrings that have a post, like mine, cut off the stem with plier cutters on all your earrings.
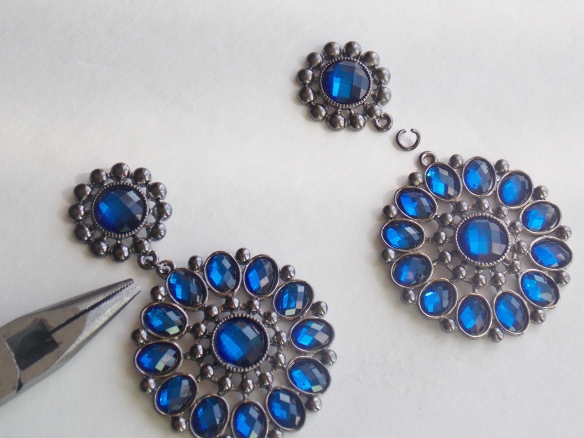
Then with your pliers take apart all your earrings. These earring where just attached with a jump ring so I all I had to do was open up the jump ring and unattach the bottom half.
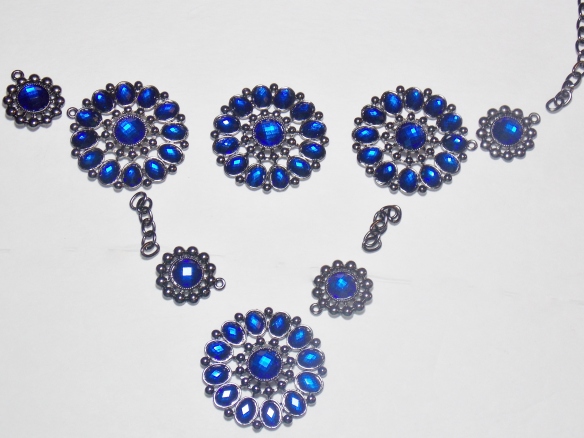
When you have all pieces apart arrange in a pattern you like. You can connect each piece to a chain or connect them all together, there are so many possibilities! First, I connected mine to the chain that was pictured in the things you need list, but I really didn’t like the chain so I changed the chain and came up with this design. I suggest you play around a bit with your pieces until you settle on a layout. Then connect your pieces together with jump rings. I used several different sizes to get all the parts together.
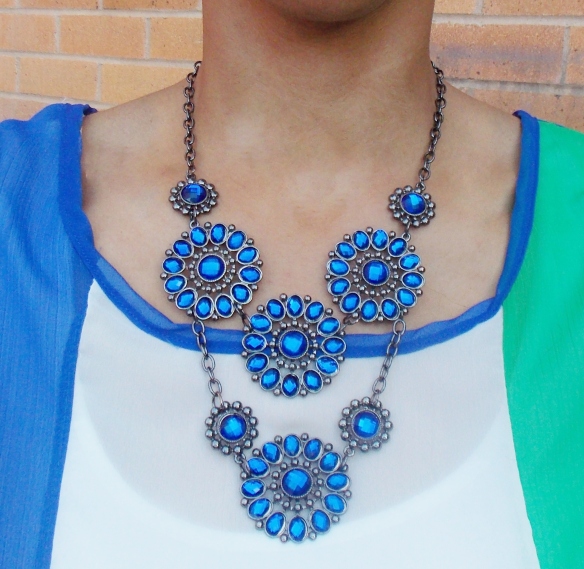
Done! My statement earrings are now a beautiful statement necklace. The earrings I purchased happened to be on sale. I paid $4 bucks total for both pairs. So when you can’t find the supplies your looking for search the jewelry clearance section!
 Happy Friday Guys! Weekend is finally here and am I glad to see it. The weather here is off again on again. One day its warm then the next day freezing!! This type of weather if very rare, especially this time of year, in Texas. I’m usually basking in sunlight packing up my boots and getting out my sandals! Well cheers to the weekend and this super quick DIY to add some pizzazz to a pair of pearl earrings!


 Step 4. Repeat steps on 2nd earring back


